
How to Photograph Fabric for the Quilt Planner (3 Easy Methods)
The fabric uploader is one of the most-loved tools in Quiltster and for good reason. It lets you see your actual fabrics inside your quilt before you ever cut a single piece.
Whether you’re planning with your home stash, shopping in a quilt shop, or working with a new fabric collection, uploading your fabric into the Quilt Planner helps you design with confidence and avoid costly mistakes.
There are three easy ways to add fabric to your Quiltster account:
- Photograph – Take a photo with your phone or tablet
- Scan – Use a scanner for crisp, professional images
- Online Image – Save a fabric image from a manufacturer’s website
Let’s walk through each method so you get the best possible results.
Method 1: How to Take a Picture of Fabric with Your Phone (for the Quilt Planner)

This is the most popular option because it’s fast and flexible. You can photograph fabric at home or in a quilt shop to test it in a project before you buy.
How to Prepare Fabric for a Clear Photo
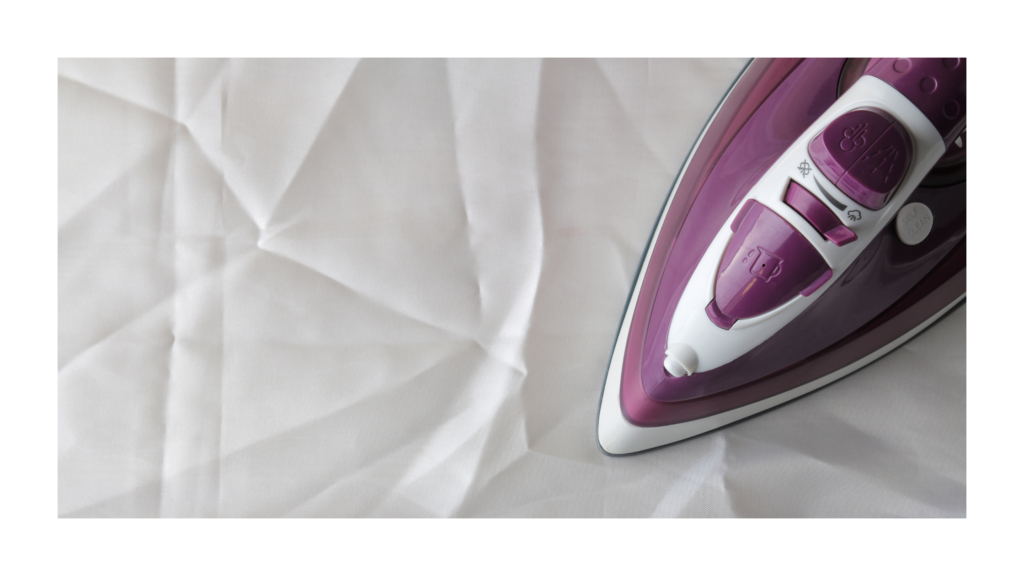
Step 1: Iron the Fabric
Make sure your fabric is smooth and clean. Wrinkles, threads, lint, and pet hair will all show up once the fabric is inside your quilt design.
Why this matters: Every tiny detail in your photo becomes part of your quilt preview.
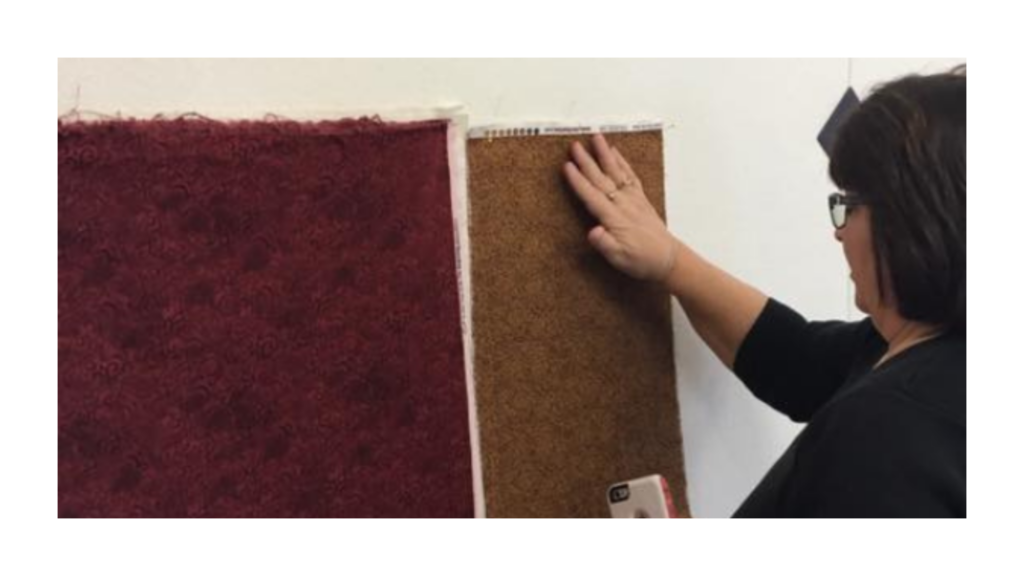
Step 2: Best Lighting for Fabric Photography at Home
Hang the fabric on a wall for even lighting and a flat surface. Test a few rooms and times of day to find the best natural light in your home.
Pro Tip: Hang a measuring tape or place a small marker next to the fabric (not in the photo) so you can estimate swatch size later.
If hanging isn’t possible, you can lay the fabric flat on a table or floor. It works well, but just keep in mind this is usually harder to photograph without shadows, so good overhead lighting and your physical position is important.
Step 3: How to Photograph Fabric for the Quilt Planner
Fill your camera screen completely with fabric. If you can see it on your camera screen, you will see it in your quilt. Everything in the photo will appear in your project.
Avoid:
- Edges
- Rulers
- Shadows
- Background
- Threads
- Pet fur
Your goal: 100% fabric, edge to edge.
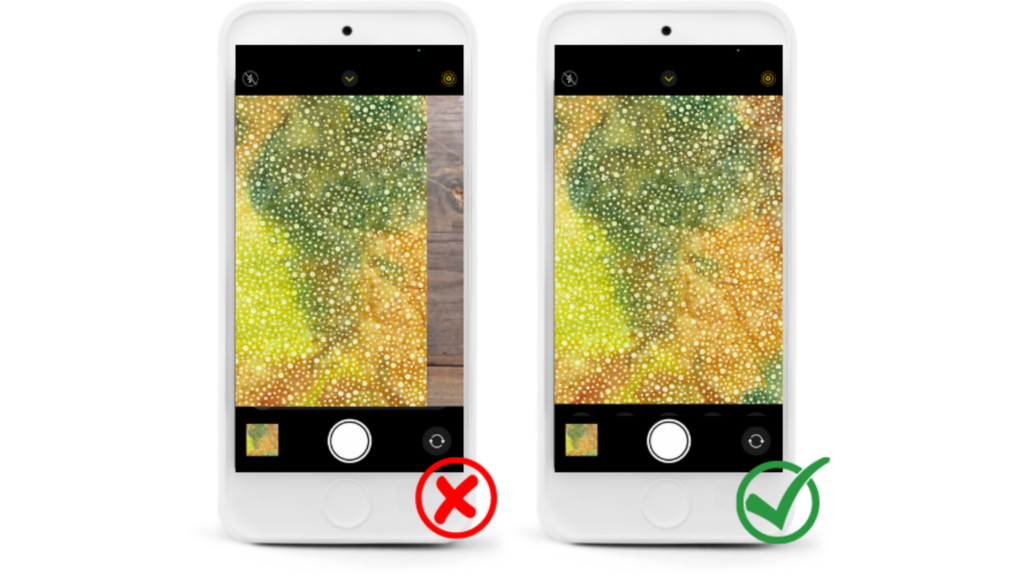
Pro Tip: If your phone or tablet has a 1:1 (square) camera option, turn it on before taking the photo. This creates a perfectly square image so you won’t need to crop it later.

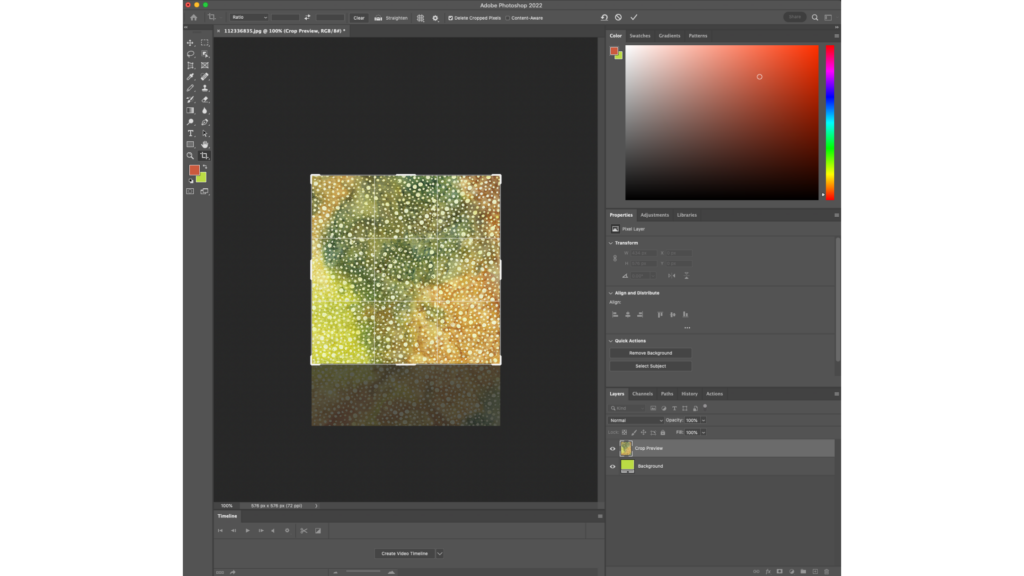
Step 4: How to Crop Fabric Images into a Square
Your fabric image must be a perfect square before uploading into Quiltster. If it isn’t, Quiltster will automatically stretch the image to fit which can distort the print and affect how it looks in your quilt.
If you took your photo using 1:1 (square) mode, you’re all set! You can skip this step and go straight to uploading your fabric.
Otherwise, use a photo editing tool to crop your image into a square. This can be done right on your phone, tablet, or computer. There are plenty of free and paid options available, and most devices include a built-in cropping or snipping tool.
Pro Tip: As you crop, keep swatch size in mind so your fabric appears natural and proportional inside your quilt blocks.
Step 5: Upload & Test
Upload your fabric into My Fabrics, then drop it into a project to see how it looks.
This is the fun part! Watch your quilt come to life!
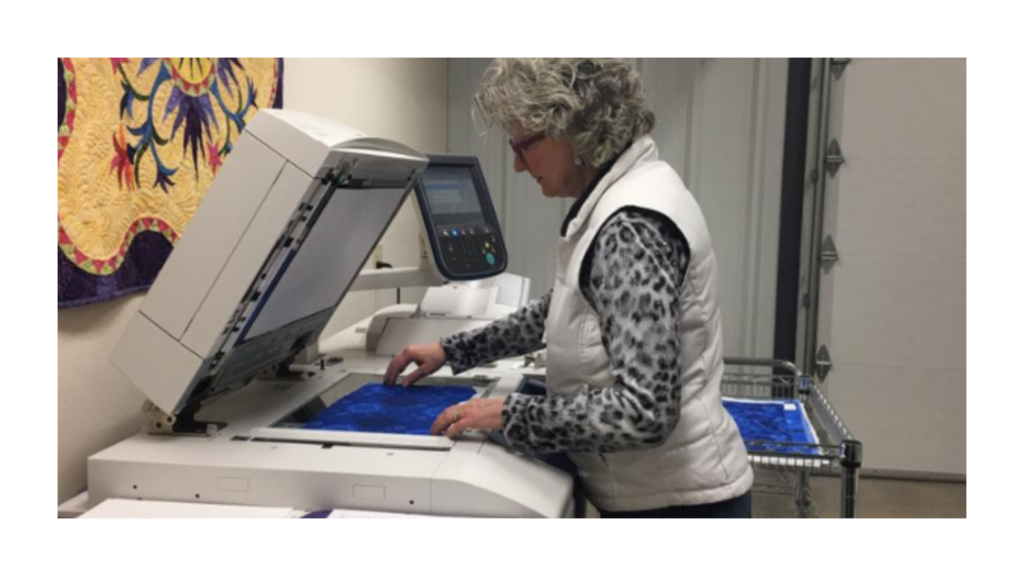
Method 2: How to Scan Your Fabric for Quilt Planning
Scanning gives the cleanest, most accurate image and is the method used by fabric companies and quilt shops.
- Scan the fabric
- Crop it into a perfect square (remember to keep swatch size in mind)
- Upload directly into your account
Why this matters: Scans give you the most precise color and print clarity.
Method 3: How to Find and Edit Fabric Images Found Online.
This is a great option when working with new collections. Your best source for online fabric images is the manufacturer’s website. These are the official images they share with quilt shops and designers, so they offer the most accurate color, scale, and print details.
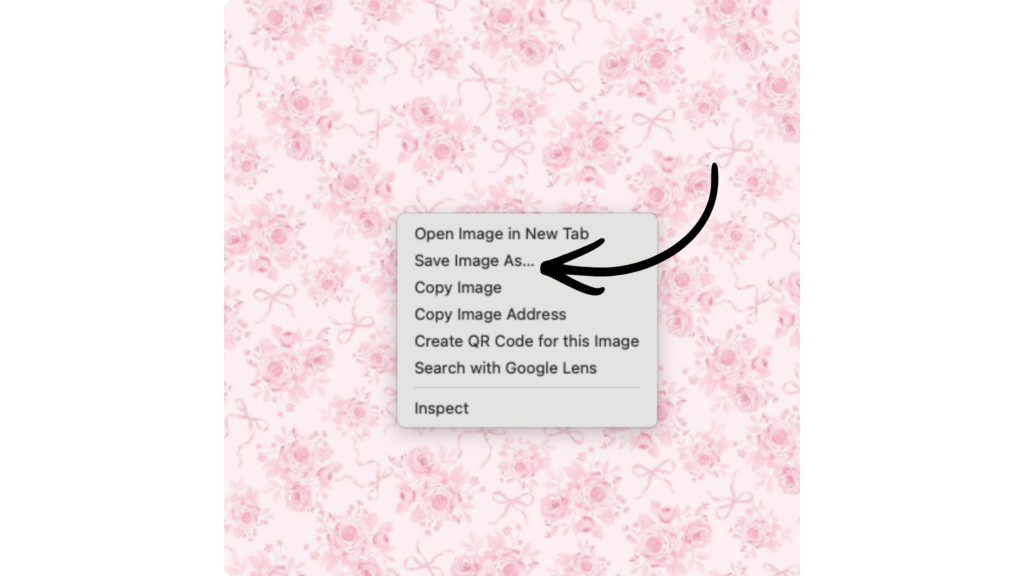
Step 1: Save the Image
Visit the manufacturer’s website, right-click the fabric image, and choose Save As.
Step 2: Edit the Image
Many manufacturer images include rulers, logos, or watermarks. Crop those out and make sure your final image is a perfect square.
Pro Tip: Look up the fabric swatch size so your scale is accurate. If it’s not on the manufacturer’s site, a quick Google search often helps. Sometimes clicking on the image on the manufacturers site will display a ruler.
Step 3: Upload & Design
Upload the image into My Fabrics and use it in your quilt project right away.
Ready to Try It?
Head to the Quilt Planner or the Quilting Fabric section to upload your first fabric and start building your project. You’ll be amazed how quickly your ideas come together and how confident you’ll feel in your final design.
Happy Quiltstering!