The Quilt Planner is where your quilt ideas start to take shape. Creating a new project lets you preview fabric, experiment with color, and design with confidence before you buy or cut anything.
This guide walks you step-by-step through creating a new project in the Quilt Planner from finding a pattern to adding fabric and reviewing your yardage.
Good news first: you can browse customizable patterns without a subscription. You only need a subscription when you’re ready to click Create Project and start designing.
Let’s get started.
Step 1: Choose a Pattern to Customize
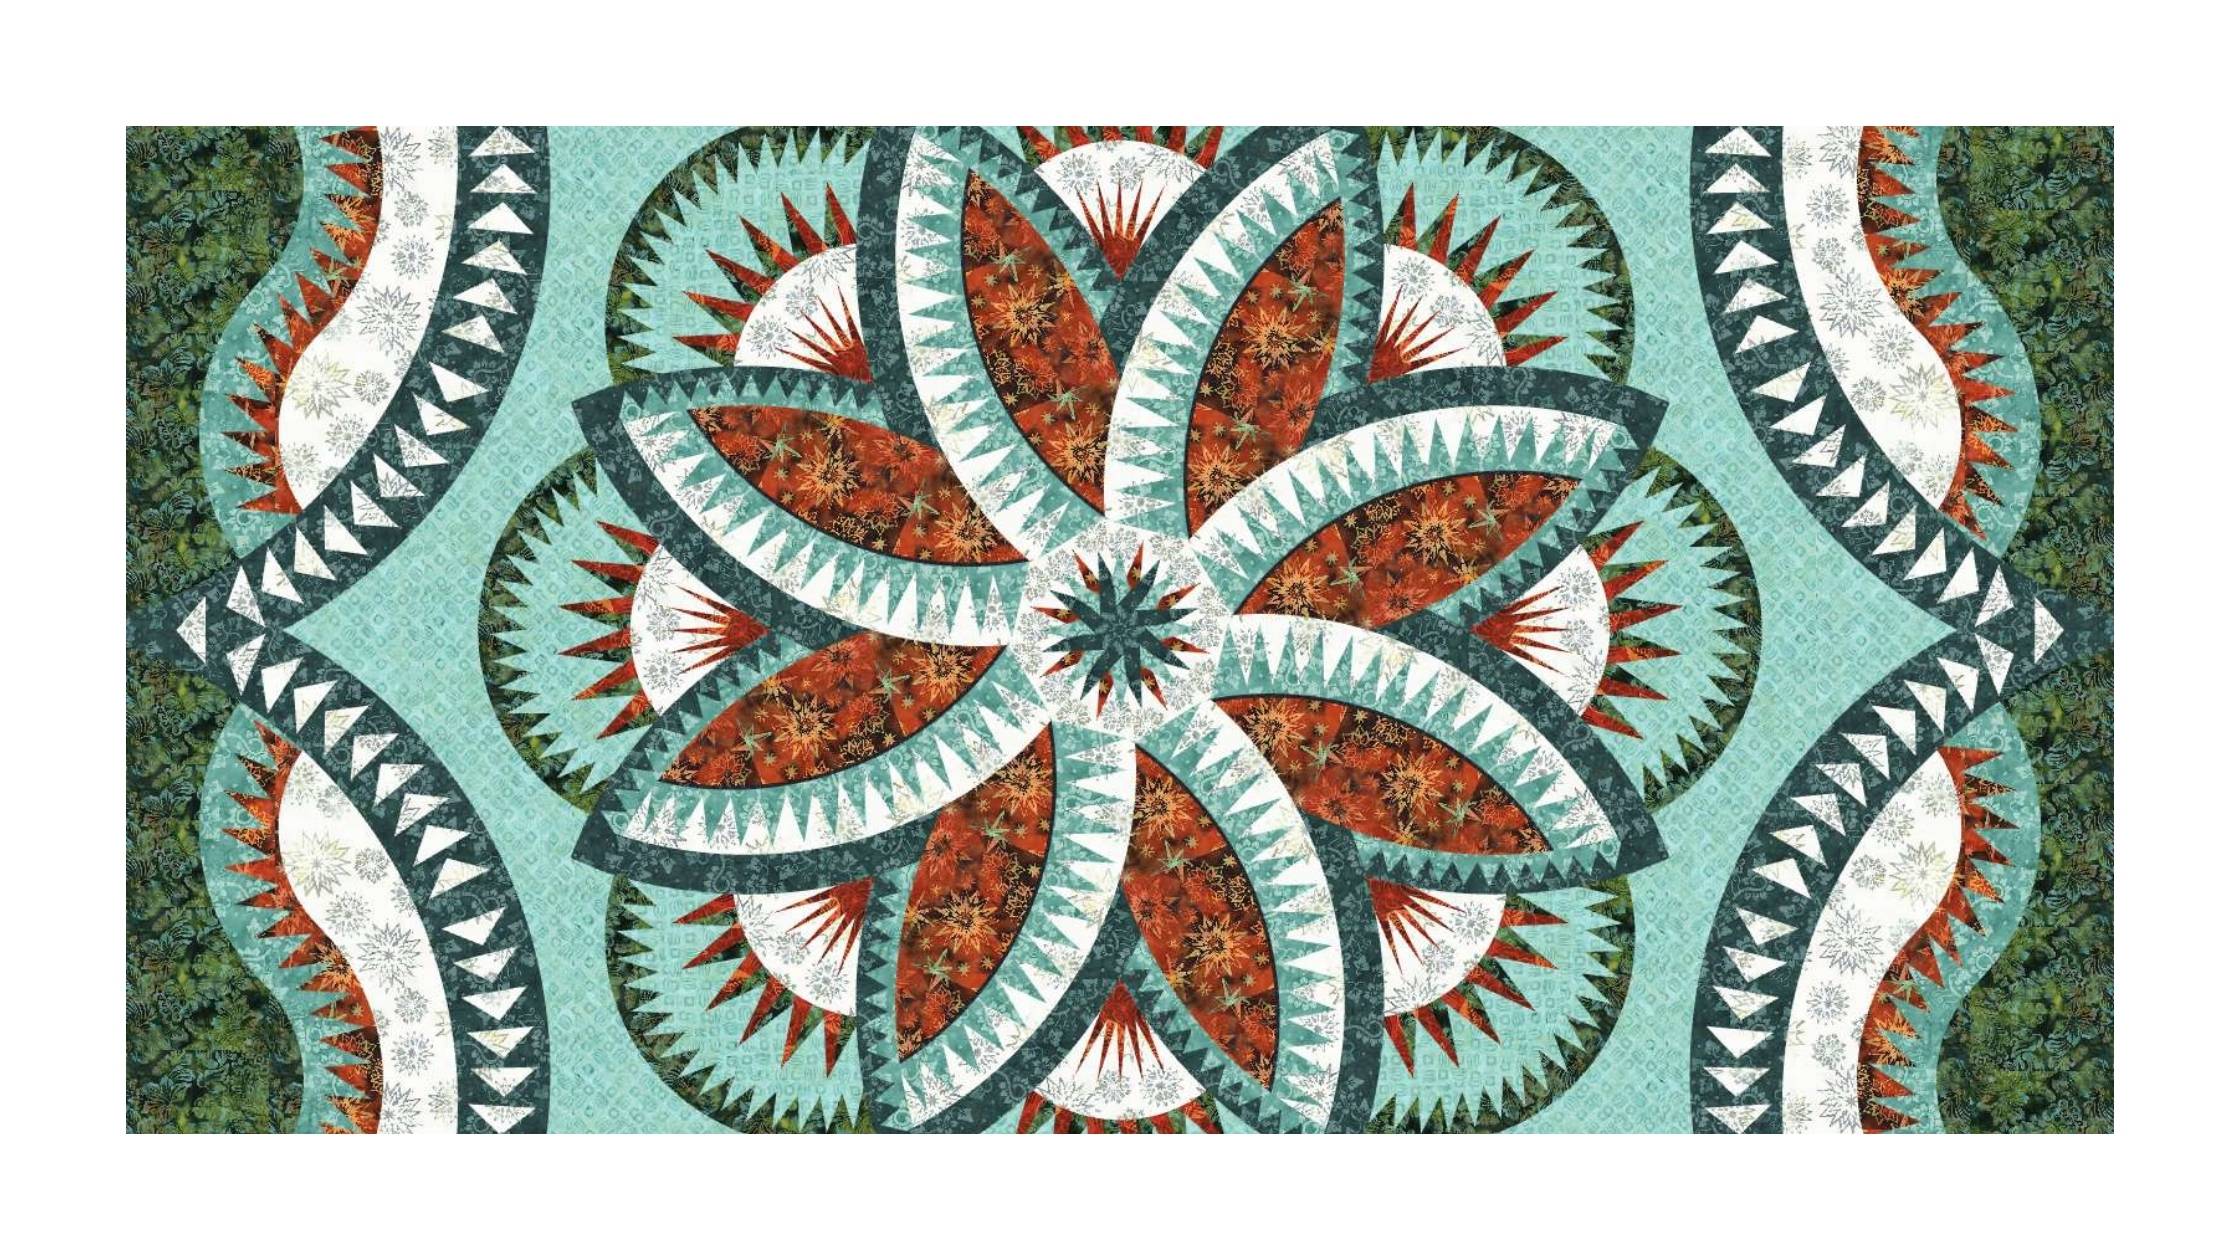
Start by choosing a pattern you’d like to design in the Quilt Planner.
Open the Quilt Patterns section and browse or search for something that catches your eye. You can search by pattern name, designer, keyword or scroll until something makes you say “Ohhh, I like that one.”
When you open a pattern page, look for the Create Project button. That means the pattern is customizable in Quiltster.
Need help finding the right pattern? Read our full guide: How to Choose a Quilt Pattern to Customize in Quiltster
How to Select a Pattern for Customization
From the catalogue page, click on the image of your chosen pattern.
On the dedicated pattern page, click Create Project where you will be presented with template options.
Step 2: Choose a Template
When you click Create Project from a pattern page, you’ll be asked to choose a template.
A template is the starting layout for your project; the version of the pattern you’ll use as your design base.
Some patterns include more than one template option. You may see:
- Blank (greyscale) templates: No fabrics are applied yet, so you can build your color plan completely from scratch. The greyscale shading provides a helpful guide to light and dark value placement within the design.
- Pre-colored templates: Fabrics are already placed to give you a starting point, and you can replace any of them with your own choices.
There’s no wrong choice here. Some quilters like starting with a blank canvas, while others enjoy modifying an existing color layout.
How to Select a Template
- Select your template by clicking on the corresponding Create Project button
- Enter a name for your project. The Description is optional and just for you.
- Click Create Project
From here, you’ll be taken directly into the Quilt Planner workspace, where the fun begins.
Step 3: Activate a Block to Customize
When your project opens, you’ll see:
- Your quilt layout in the center
- Editing tools on the top and bottom of page
- Additional functions along the left-hand side
How to Activate a Block Group
Some patterns are organized into block groups which are sets of repeated blocks that color together.
Some patterns may only be activated as a whole.
Click on the quilt layout to select a block group. When a section of your quilt is activated, it will highlight in a striped pattern. This helps you see exactly what you’re editing.
Once activated, click Edit to open the Block Editor.
Step 4: Activate a Space Inside the Block
The Block Editor lets you work on specific sections inside the block group you opened.
Inside the editor, your quilt appears on the left and your fabric tools and lists appear on the right.
To choose where your fabric will go, click a space inside the block.
When selected:
- The active area highlights with a striped pattern
- The matching section label appears on the right under Fabrics in Block
This helps you see exactly which part of the design you’re about to color.
You may notice that when you click one space, several spaces highlight at the same time. That’s expected. These linked areas are called a color group, meaning they are designed to share the same fabric choice.
Color groups are built into the pattern and stay consistent throughout your project. Wherever you see the striped highlight is where your selected fabric will be applied.
Step 5: Add Fabric
On the fabric panel inside the Block Editor, you’ll see three fabric lists:
Fabrics in Block, Fabrics in Quilt, and All Fabrics. Each one serves a different purpose while you design. Here’s a quick guide to what each section does:
Fabrics in Block
This list shows the spaces for your currently activated block. Each space is labeled with an ID that matches the fabric labels in your pattern instructions.
This panel updates automatically as you move from block to block.
Pro Tip: Instead of clicking directly on the quilt to activate a space, you can click a section name in Fabrics in Block to activate it. This is especially helpful for very small areas like flying geese, narrow borders, or thin strips.
Fabrics in Quilt
This section shows a running list of every fabric used in your quilt so far. It stays consistent no matter which block you are editing.
This is useful when you want to reuse the same fabric in multiple places. Just click a swatch here to apply it again, no need to refilter or search.
All Fabric
This is the full Quiltster fabric library, with thousands of fabrics available for designing. Some fabrics can be purchased through Quiltster Marketplace sellers, and many are included for visualization only.
How to Add Fabric to Your Project
Use the filters in All Fabrics to narrow your choices by Company, Designer or Collection.
If you plan to purchase fabric through Quiltster, turn on the Products I Can Buy toggle to show only fabrics available for purchase through Quiltster.com.
Adding fabric is simple:
- Click a quilt section to activate it
- Click a fabric swatch to apply it
- Repeat until the block is complete
When you’re finished editing this block group, click Save & Close to return to the main Quilt Planner.
From there, activate the next block group and continue until your quilt design is complete.
You're Done!
Helpful Hints about Working in the Quilt Planner
Video Tutorial
Here’s a video walkthrough to guide you through the process. Please note that this tutorial was recorded on a previous version of our platform, so you may notice a few visual differences compared to what you see on the website today. The project steps and actions are still the same.
For the most up-to-date screens and labels, refer to the written guide above.
One quick terminology update: what’s shown as Fabric Stash in the video is now called Quilting Fabric.
Projects Save Automatically
Quilt Planner uses auto-save while you work. You can design, experiment, and change fabrics without worrying about losing your progress.
When you finish editing in the Block Editor, click Save & Close to return to the main project view.
In the bottom left corner, you’ll see a save status with a timestamp. When saving is in progress, a spinner appears. For best results, wait until the spinner stops and the timestamp updates before exiting the Quilt Planner completely.
If you leave before the timestamp finishes updating, your project will still be saved but preview images may not display right away. If that happens, simply reopen the project, click Save on the left side, and wait for the timestamp to refresh.
Continue activating and coloring block groups until your quilt design is complete.
Review Your Yardage Chart
When your design is finished, open the Yardage Chart to review your fabric requirements.
Here you can see:
- Total fabric requirements
- Fabric placement totals
- Backing and binding fields you can fill in
- Current inventory status (when purchasing through Quiltster sellers)
Inventory indicators help you see whether enough fabric is available for your project. If something is low, you can swap fabrics directly from the yardage view and Quiltster will update the design automatically.
Prefer to shop locally or from your favorite store? You can also use your yardage chart as a shopping guide anywhere you buy fabric.
Purchasing Your Fabric (Optional)
If your selected fabrics are available through Quiltster sellers, you can add them to your cart directly from your project.
From there you can:
- Adjust quantities
- Add extra yardage
- Proceed to checkout when ready.
If some of your fabrics are not available through Quiltster, simply use your yardage chart as your buying guide.
Ready to Plan Your Next Project?
Creating a project is where quilt planning becomes quilt visualizing and it’s one of the most fun parts of Quiltster.
Browse patterns, create a project, try fabrics, swap colors, and explore possibilities all before making your first cut.
Ready to begin? Head to the Quilt Planner and create your first project.
Happy Quiltstering!