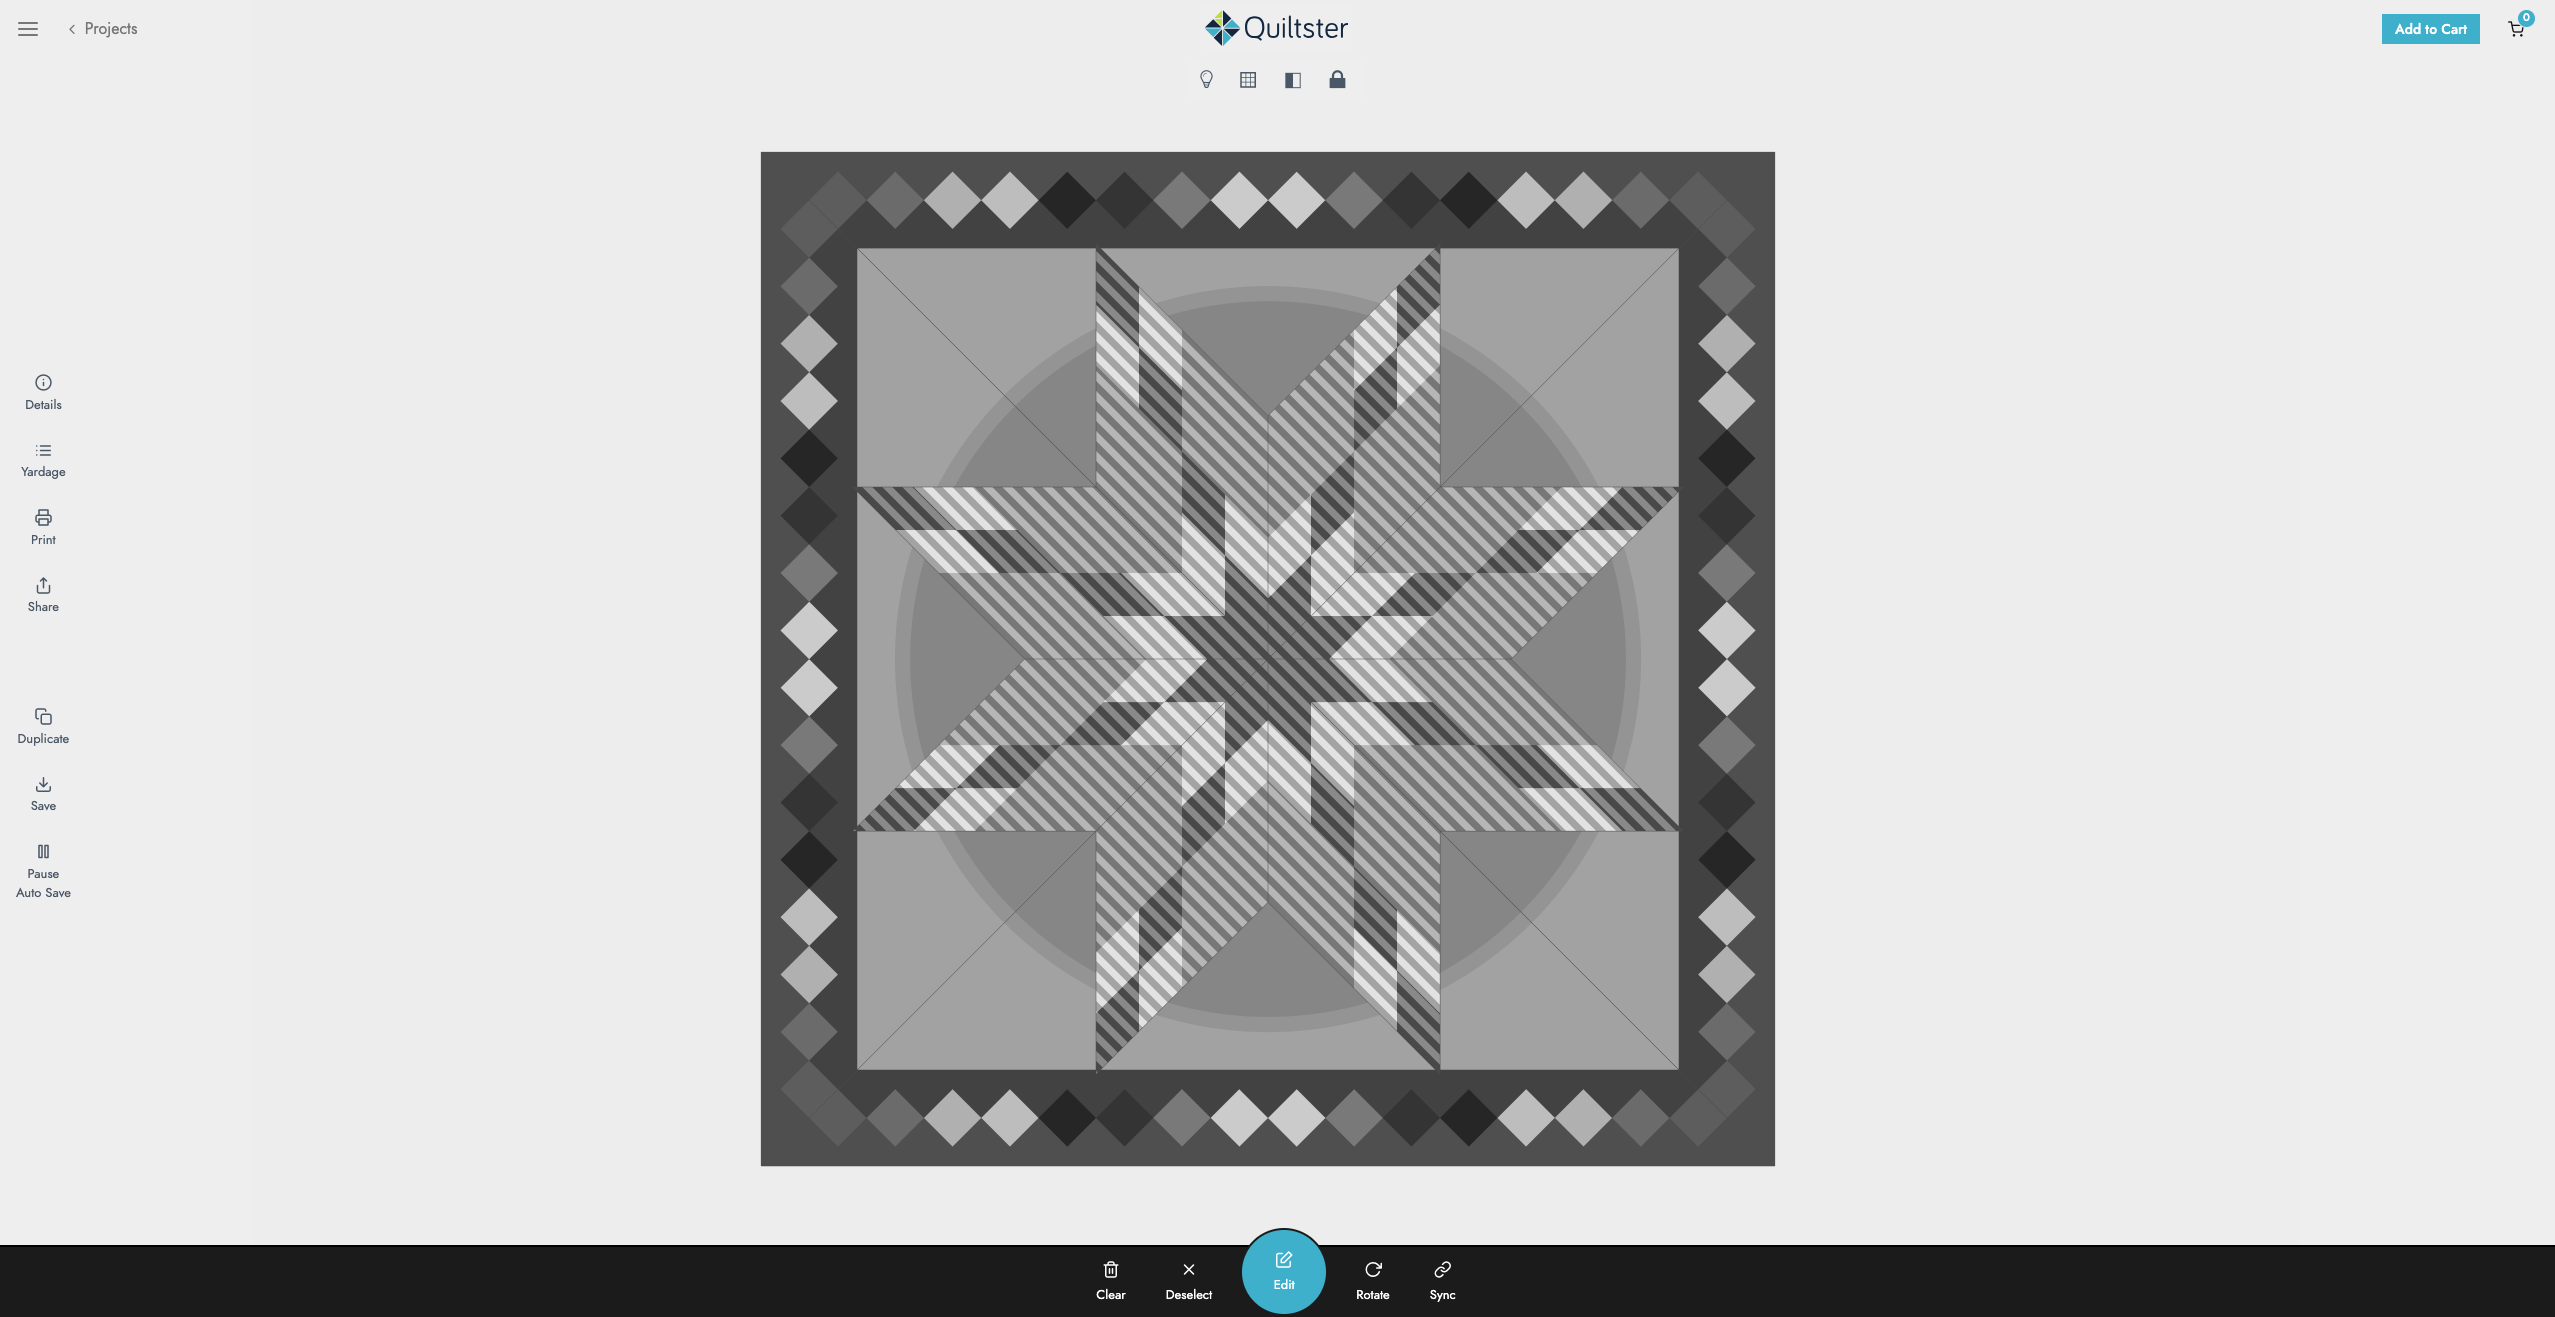
After choosing a template, it’s time to start adding fabric. In order to do so, we need to select or “activate” the section of the quilt we want to work on first.
Activating your pattern is step 3 of 5 in the My First Quiltster Project series:
- Choose a Pattern
- Choose a Template
- Activate Your Pattern
- Add Fabric
- Save Project
Bonus Step: Share Your Project
Quick Start Steps
Get started with these quick steps, or keep reading for the full walkthrough.
- Hover over the quilt and move your mouse around. You will see different sections of the pattern light up. Click on the section you want to activate. Some patterns are a single block which means the entire pattern will activate at once. Other patterns consist of multiple block groups which means only a part of the pattern will activate.
- Click Edit at the bottom of the screen.
Step 3: Activate Your Pattern
Choose a Section to Activate
Hover over the pattern and move around slowly. As you hover, you’ll see different sections of the pattern light up.
Some patterns are a single block group which means the entire pattern will light up at once. Other patterns consist of multiple block groups which means only a certain sections of the pattern will highlight together at once.
When blocks light up together, that means:
- They are connected to each other.
- They will all be edited together.
Activate a Section
When you identify the section you want to start adding fabric to, click on it to activate it.
When activated, the group will display a striped overlay pattern. This tells you where the fabric will go when you start adding it.

Center block group activated. All center blocks are selected and will be edited together.

Outer block group activated. All outer blocks are selected and will be edited together.
Edit
After activating a block group, the Edit button at the bottom center of the screen will turn blue.
Click Edit to enter the Block Editor where you’ll begin adding fabric and color to your quilt.
That’s it! You’re ready to go to Step 4 and start adding fabric.
That’s it! You’re ready to go to Step 4 and start adding fabric.
Learn More About Block Groups
What are Block Groups?
Block groups are predetermined groups of blocks that are connected. These blocks will all edit at the same time. When you add fabric to one, that same fabric and placement will be reflected in all the blocks in that group.
This is an example of a pattern with multiple block groups. Here you would select one of the groups to activate at a time:
This is an example of a pattern with one block group which means the entire pattern will activate:
Unlocking the Predetermined Block Groups
Some patterns allow you to “unlock” the block group so you can add fabric to one block at a time without affecting the rest of the group. This is helpful when you want to:
- Alternate colors
- Create a rainbow colorway
- Add intentional variation from block to block
We cover this fully in the tutorial, Unlock Blocks to Create Rainbow or Alternating Quilt Designs, but for now just remember:
Locked (default state): Edit the whole group
Unlocked: Edit individual blocks